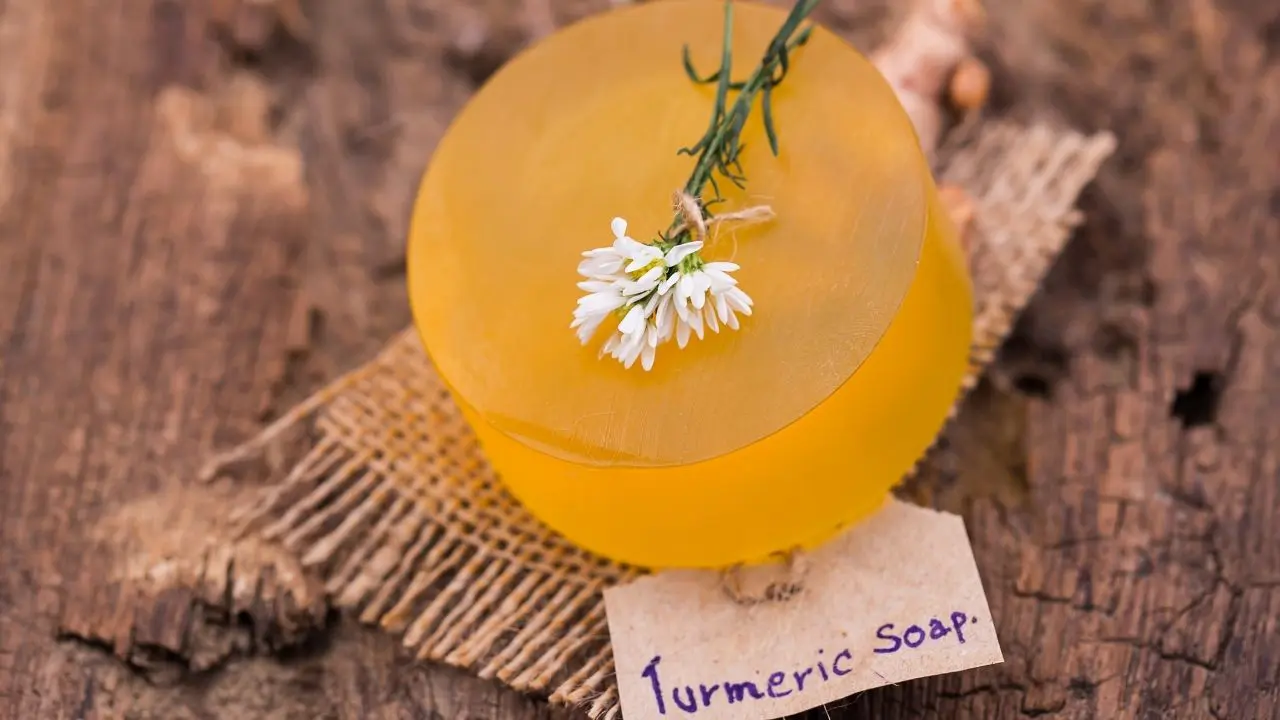
Are you ready to unleash your DIY skills and create a beautiful turmeric soap recipe using the cold process method? Turmeric has long been praised for its numerous benefits for the skin, including its ability to brighten the complexion and combat signs of aging. By incorporating turmeric powder into your homemade soap, you can enjoy these benefits and more, all while indulging in a natural and handmade skincare product.
Key Takeaways:
- Turmeric soap can cleanse and exfoliate the skin, leaving it feeling fresh and rejuvenated.
- The cold process method allows you to retain the natural properties of the ingredients and create a long-lasting soap.
- Using high-quality ingredients and following safety precautions is essential for a successful soap-making experience.
- Adjusting the amount of turmeric powder and incorporating essential oils can help achieve your desired color and scent.
- Curing the soap for four weeks before use ensures that it is safe and ready for optimal performance.
Why Choose Turmeric for Your Soap?
Turmeric is not only a popular spice in the kitchen but also a powerful ingredient for achieving healthy, glowing skin. When incorporated into soap, turmeric powder provides a host of skin benefits that are hard to ignore. Its antioxidant and antibacterial properties make it an excellent choice for those looking to improve their skin’s overall health and appearance.
One of the key benefits of turmeric for the skin is its ability to even out skin tone. The natural compounds found in turmeric can help reduce hyperpigmentation and dark spots, giving your skin a more uniform and radiant look. Additionally, turmeric has anti-inflammatory properties that can help calm irritated skin and reduce redness, making it a great option for individuals with acne-prone or sensitive skin. It can also help minimize the appearance of acne scars and blemishes, leaving your skin looking smoother and more youthful.
As we age, our skin often starts to show signs of damage and aging. This is where turmeric can truly shine. Its antioxidant properties help fight off free radicals that can cause premature aging and damage to the skin. Regular use of turmeric soap can help combat fine lines, wrinkles, and other signs of aging, keeping your skin looking youthful and vibrant.
How to Incorporate Turmeric into Your Soap Recipe
If you’re interested in making your own turmeric soap, there are a few different methods you can try. The cold process method is a popular choice as it allows for more creativity and customization. To make a turmeric soap using the cold process method, you’ll need to gather a few key ingredients and follow a step-by-step process. Below is a table outlining the ingredients needed:
| Ingredients | Quantity |
|---|---|
| Turmeric powder | 1 tablespoon |
| Coconut oil | 4 ounces |
| Shea butter | 2.4 ounces |
| Olive oil | 6.4 ounces |
| Lye | 2.2 ounces |
| Distilled Water | 4.2 ounces |
| Essential oils (optional) | A few drops |
Remember to always take safety precautions when working with lye, and follow the cold process soap-making instructions carefully. Once your soap is complete, allow it to cure for at least four weeks before using. This curing process will ensure that your soap is gentle, long-lasting, and safe for your skin.
By incorporating turmeric into your soap-making routine, you can take advantage of its numerous skin benefits. From evening out your skin tone to reducing acne and combating signs of aging, turmeric is a natural ingredient that can help you achieve glowing, healthy skin. Give it a try and see the difference it can make!
Understanding the Cold Process Method
Before we dive into the turmeric soap recipe, let’s take a moment to understand the cold process method and its key elements. This method of soap making involves combining oils and lye water to initiate the saponification process, which results in the formation of soap.
The saponification process is a chemical reaction that occurs when lye (sodium hydroxide) reacts with oils. This reaction creates soap and glycerin, an ingredient that helps moisturize the skin. It is important to handle lye with caution, as it can be caustic and can cause burns if not properly used.
The choice of oils is crucial in the cold process method. Different oils bring their unique properties to the soap, such as cleansing power, moisturizing ability, and lather formation. Common oils used in soap making include olive oil, coconut oil, palm oil, and shea butter. Each oil contributes to the final characteristics of the soap, such as hardness, lather, and conditioning.
When making turmeric soap using the cold process method, it is essential to follow safety guidelines and wear protective gear, such as gloves and goggles. It is also recommended to work in a well-ventilated area. The cold process requires patience, as the soap needs to cure for around four weeks before it is safe to use. This curing time allows the soap to harden and ensures that the lye has completely reacted with the oils, resulting in a mild and gentle soap for your skin.
| Key Elements of Cold Process Method | Benefits |
|---|---|
| Saponification process | Creates soap and glycerin |
| Choice of oils | Determines soap’s properties |
| Safety precautions | Protects against lye burns |
| Curing time | Allows soap to harden and become mild |
Gathering the Ingredients and Equipment
The key to a successful soap-making experience is having everything prepared and ready to use.
More Details About the Ingredients:
| Soap Base | Turmeric Powder | Coconut Oil | Shea Butter | Essential Oil |
|---|---|---|---|---|
| We are using lye (sodium hydroxide)to make our soap from scratch | Turmeric powder is the star ingredient. Its antioxidant and antibacterial properties offer a range of benefits for the skin. | Coconut oil is a popular choice for soap making due to its cleansing properties and ability to create a lather. It also helps to moisturize the skin. | Shea butter provides nourishment and moisture to the skin, leaving it feeling soft and supple. It contributes to the creamy texture of the soap. | Essential oil adds fragrance and additional skin benefits to our turmeric soap. Choose an oil that complements the scent and desired effects of the soap. |
The Equipment:
- Soap Mold: Select a mold that suits your desired soap shape and size. Silicone molds are an excellent choice due to their flexibility and ease of use.
- Heatproof Container: You will need a heatproof container to melt the soap base and mix the other ingredients.
- Stirring Utensil: Use a heat-resistant spoon or spatula for mixing the ingredients together.
- Measuring Tools: Accurate measurements are crucial, so have measuring spoons and a digital scale on hand.
- Protective Gear: To ensure your safety, wear gloves, protective eyewear, and a mask when handling lye and other potentially harmful substances.
Now that we have all the ingredients and equipment ready, we can move on to the next step: creating our beautiful turmeric soap using the cold process method.
Step-by-Step Instructions for Making Turmeric Soap
Now that we have all the ingredients and equipment ready, let’s dive into the step-by-step process of making our turmeric soap. Get ready to create a beautiful soap that will leave your skin glowing!
- First, we need to prepare the lye solution. Make sure to follow the safety precautions when handling lye. In a well-ventilated area, wearing protective gloves and goggles, slowly add the lye to the water while stirring constantly. Allow the lye solution to cool down.
- In a separate container, gently melt the solid oils. Once melted, remove from heat add the rest of the oils, and let it cool slightly.
- Add turmeric powder to the melted oils base and mix well. The amount of turmeric powder will depend on the desired color of your soap, so adjust accordingly.
- Gradually pour the lye solution into the oil soap batter while stirring continuously. This process is called “saponification” and is essential for turning the oils and lye into soap.
- Continue stirring the soap batter until it thickens to a pudding-like consistency. This may take some time, so be patient and keep stirring.
- Once the soap batter has reached the desired consistency, add any essential oils or other optional ingredients for scent and additional benefits. Mix well to distribute evenly.
- Pour the soap batter into your chosen soap mold. Gently tap the mold on a flat surface to remove any air bubbles. Cover the mold with a towel or plastic wrap to insulate.
- Allow the soap to set for approximately 24 hours, or until it is firm to the touch. Once set, gently remove the soap from the mold.
- Now, place the soap bars on a drying rack or a clean surface, and let them cure for about 4 weeks. This curing process allows the soap to harden, ensuring a longer-lasting bar that is safe to use.
Congratulations! You have successfully made your own turmeric soap using the cold process method. Enjoy the benefits of this natural and nourishing soap for glowing, radiant skin.
Tips for Achieving the Desired Color and Scent
Want your turmeric soap to have the perfect color and scent? Follow these tips to achieve the desired results.
1. Adjusting the Turmeric Powder: The amount of turmeric powder used in your soap recipe will determine the final color. Start with a small amount and gradually increase it until you achieve the desired shade. Keep in mind that turmeric can stain, so be cautious not to exceed the recommended dosage.
2. Incorporating Essential Oils: Essential oils not only add a pleasant scent to your soap but also provide additional benefits for the skin. Consider using essential oils like lavender, tea tree, or lemongrass to enhance the fragrance and nourishing properties of your turmeric soap.
| Essential Oil | Skin Benefits |
|---|---|
| Lavender | Relaxing, soothing, and promotes skin healing. |
| Tea Tree | Antibacterial and anti-inflammatory, ideal for acne-prone skin. |
| Lemongrass | Invigorating, balances oil production, and has antioxidant properties. |
3. Utilizing Turmeric in Oil Form: To enhance the color and properties of your turmeric soap, consider using turmeric-infused oil. This method allows for better dispersion of the turmeric throughout the soap, resulting in a more uniform color. Simply infuse turmeric powder in a carrier oil like olive oil or coconut oil before adding it to your soap recipe.
With these tips, you can create a turmeric soap that not only nourishes your skin but also pleases the senses. Experiment with different amounts of turmeric powder and essential oils to achieve the perfect color and scent combination for your homemade soap.
Curing and Storing the Turmeric Soap
After creating our turmeric soap, we need to let it cure for a specific period of time to ensure its effectiveness and safety. The curing process allows the soap to harden and mellow, resulting in a longer-lasting bar that produces a rich, luxurious lather. It also allows the chemical reactions between the oils and lye to fully complete, resulting in a gentle and mild soap.
The recommended curing time for turmeric soap is four weeks. During this time, the soap should be stored in a cool, dry place away from direct sunlight. This allows the soap to dry and harden properly, ensuring a longer shelf life and a better overall experience when using it.
It’s important to note that homemade soap, including turmeric soap, may become too harsh if used immediately after making. Curing allows excess moisture to evaporate, resulting in a harder and milder bar of soap that is safe to use on the skin. So, while it may be tempting to use the soap right away, it’s best to exercise patience and wait for the full four weeks of curing time.
| Summary of the Curing Process: |
|---|
| 1. Allow the soap to cure for four weeks. |
| 2. Store the soap in a cool, dry place away from direct sunlight. |
| 3. Patience is key – resist the urge to use the soap before it is fully cured. |
By following these guidelines, you can ensure that your turmeric soap is safe and effective to use. The curing process is an essential step in creating high-quality homemade soap that will provide the desired benefits for your skin. So, take the time to let your soap cure, and soon you’ll be enjoying all the wonderful properties of turmeric for glowing, healthy skin.
Conclusion
By following this turmeric soap recipe, you can create a beautiful, natural soap that offers numerous benefits for your skin. Turmeric powder, with its antioxidant and antibacterial properties, can work wonders for your complexion. Not only does it cleanse the skin in a gentle manner, but it also exfoliates to remove impurities and dead skin cells, resulting in a brighter and more radiant appearance.
One of the key advantages of turmeric soap is its ability to even out hyperpigmentation and skin tone. Whether you’re dealing with dark spots, acne scars, or sun damage, turmeric can help lighten these areas and promote a more uniform complexion.
In addition, turmeric soap can also be effective in reducing acne and combating signs of aging. Its antibacterial properties can help fight off acne-causing bacteria, while its antioxidant content can help neutralize free radicals that contribute to premature aging.
Remember, whether you choose to make this soap using the melt and pour or cold process method, be sure to follow the instructions carefully and take the necessary safety precautions. Once your soap is made, it’s important to allow it to cure for four weeks to ensure it’s safe to use and to achieve the best results.
FAQ
Q: What is the benefit of making homemade turmeric soap?
A: Homemade turmeric soap allows you to control the ingredients and customize it according to your skin’s needs. It is also free from harmful chemicals found in commercial soaps, making it a healthier option for your skin.
Q: Can I use turmeric in soap making?
A: Yes, turmeric can be used in soap making. It has many benefits for the skin, including reducing inflammation, brightening complexion, and treating acne.
Q: How do I make a turmeric soap recipe using the cold process?
A: To make a turmeric soap recipe using the cold process, you will need turmeric powder, essential oils, soap base, and a soap mold. Mix the ingredients together, pour the mixture into the mold, and let it cure for several weeks before using.
Q: Can I use melt and pour soap instead of cold process soap?
A: Yes, you can use melt and pour soap as an alternative to cold process soap. Melt and pour soap is pre-made and requires less time and effort compared to cold process soap.
Q: What are the benefits of turmeric soap?
A: Turmeric soap has several benefits for the skin. It can help reduce acne, soothe inflammation, improve skin elasticity, and provide a natural glow. Turmeric is also known for its antimicrobial and antioxidant properties.
Q: How much turmeric should I use in my homemade turmeric soap recipe?
A: The amount of turmeric to use in your homemade turmeric soap recipe depends on your preference. Start with a teaspoon and adjust according to the desired color and benefits.
Q: Can I add honey to my turmeric soap recipe?
A: Yes, you can add honey to your turmeric soap recipe. Honey has moisturizing and antibacterial properties that can benefit the skin.
Q: How long does it take for the soap to cure?
A: The soap usually takes 4-6 weeks to cure. During this time, it will harden and the excess moisture will evaporate, resulting in a longer-lasting and more stable soap.
Q: Can I use turmeric soap for dry skin?
A: Yes, turmeric soap can be beneficial for dry skin. Turmeric has moisturizing properties and can help improve skin hydration when used in soap.
Q: Can I add essential oils to my turmeric soap?
A: Yes, you can add essential oils to your turmeric soap for fragrance and additional skincare benefits. Make sure to choose essential oils that are safe for use in soap making.
- About the Author
- Latest Posts
- How I Test and Recommend

Juliet is the creator of Living Wild & Green, where she researches and writes about eco-friendly living, sustainable fashion, and non-toxic home upgrades. Since 2020, she’s been curating science-backed, stylish sustainability tips and personally testing products to help thousands of readers cut through greenwashing and live greener with confidence.


I use tumeric in my going everyday., didn’t knw I can use it for skin treatment.
I’d be afraid of it turning my skin orange? It doesn’t right?
I grow an abundance of turmeric in Costa Rica and need to find more uses for it.
It wont stain you nor your shower. I use it. it is really good! That is awsome you can grow your own. Maybe I should give it a try, :/